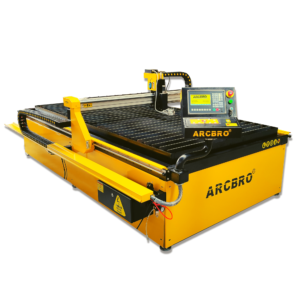
The name plate tutorial is a great first cut project to perform on the table. It goes over all of the essential functions of the ARCBRO CAD/CAM software in order to successfully create a cut file. Lincoln Electric Cutting Systems uses this tutorial to instruct all of our newest employees on how the tables operate and how to design the cut files using the CAD program. This tutorial covers the most basic name plate design, and we encourage our customers to really get creative with this tutorial in order to explore all of the tools in this CAD program.
The video starts by showing off some examples that we have around the office. Painting and welding can really take your name plate to another level. We then pull references from our past videos to draw up our name plate. The text tool, breaking a path, and applying a basic weld are all used in order to make the name plate. Certain names will require bridges to be applied in order to make the name readable.
This is also the first mention of outputting the design to g-code. This is a necessary step in creating the cut file as this is the code that the stepper motors read in order to cut out your design. It is gone over in greater detail in the CNC tutorials that come later in this virtual ARCBRO CNC training. We then introduce some of the necessary steps in order to create this g-code. Unfortunately, these steps have some very particular nuances that can be frustrating if not taken into consideration. Please pay close attention; these steps are needed with every design that you draw in ARCBRO CAD/CAM.
